Spend no money at the salon by learning how to do a French manicure at home!
Introducing the French manicure, arguably the most traditional style available for nails. You don’t have to stick with the traditional white tip option because it looks good on all nail lengths and shapes.
Let’s face it: a French manicure is a skill we could all use to our advantage. So instead of focusing on all the viral trending tips, we’re going back to the basics and providing a foolproof, clean-up-free tutorial.
How to Do a French Manicure at Home?
Here’s the information you need if you’re new to the world of nails. A light pink base and bright white tips are typical of the timeless French nails.
It never goes out of style because it is elegant and sophisticated. I’ll start the tutorial now.
What You Need:
- A bowl of warm water
- A towel
- Base coat
- White nail polish
- Soft baby pink nail polish
- Top coat
Step 1: Prep Your Nails
For a classic French manicure to appear neat, it’s crucial to have a well-prepared nail in addition to the white painted outline.
After washing your hands, remove any remaining nail polish with an acetone-free polish remover. Trim the edges if necessary using a stick made of orange wood whose end has been coated in cotton and dipped in nail polish remover.
Soak your hands in warm water for a few minutes in a dish after that. This helps remove all the oils and dry skin while extending the life of your manicure.
You Might Also Like: How to Do a French Manicure Without Guide Strips?
Step 2: Shape Your Nails
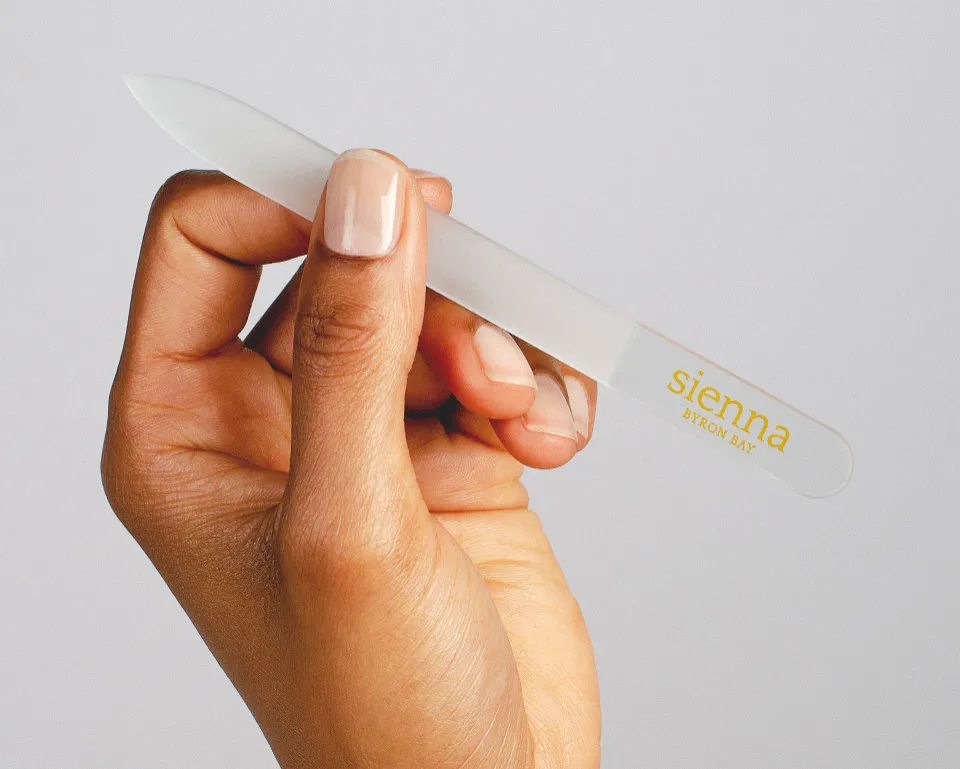
French manicures can be done on any type of nail plate, in any shape or length, but the center almond or short square shape looks best on the nail tips.
Just make sure your line is symmetrical and that they don’t have any broken edges.
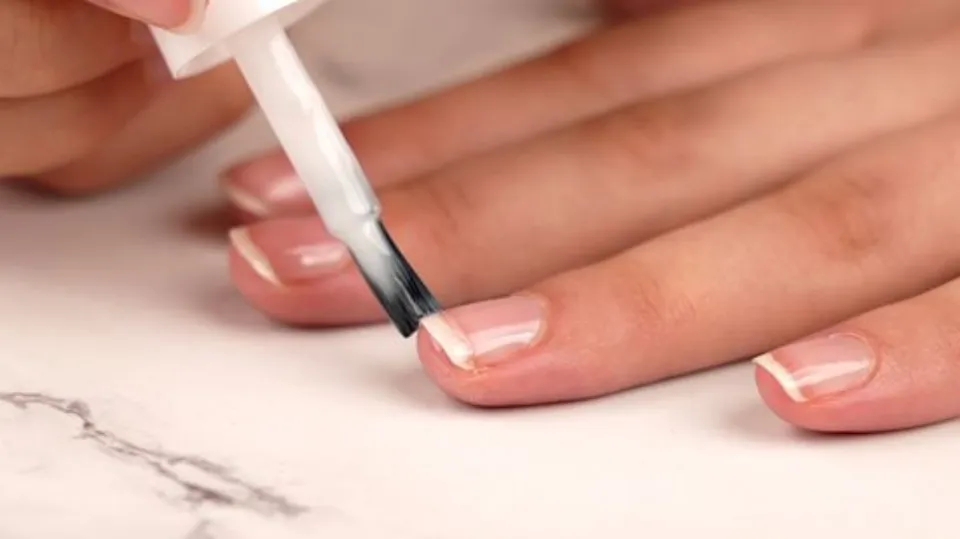
Step 3: Apply a Base Coat
You must apply a base coat after shaping and buffing your nails. When performing a French manicure, this step is crucial because your natural nails will be visible and you want everything to look flawless.
Go on to the next step after letting it dry.
Step 4. Do Your Tips
The tips of your nails should be painted white. Place your finger on a flat surface, incline it to one side, then push the brush where you want the French tip to begin before pulling it over.
It will be connected to the other side using the criss-cross technique, so don’t worry about that.
Then, exactly the same as before, place the brush on the opposite side. This will result in a straight, even line. Then, let your nails dry while you remove any extra polish with a Q-tip.
Step 5. Apply the Over-Top Nail Polish
Choose a delicate baby pink nail polish and coat your nails with it. This color will combine all the colors and give your manicure a much more natural appearance.
Step 6. Apply a Top Coat
Apply a clear top coat to your nails to finish setting and seal your manicure. Add cuticle oil to hydrate your nails after they have dried.
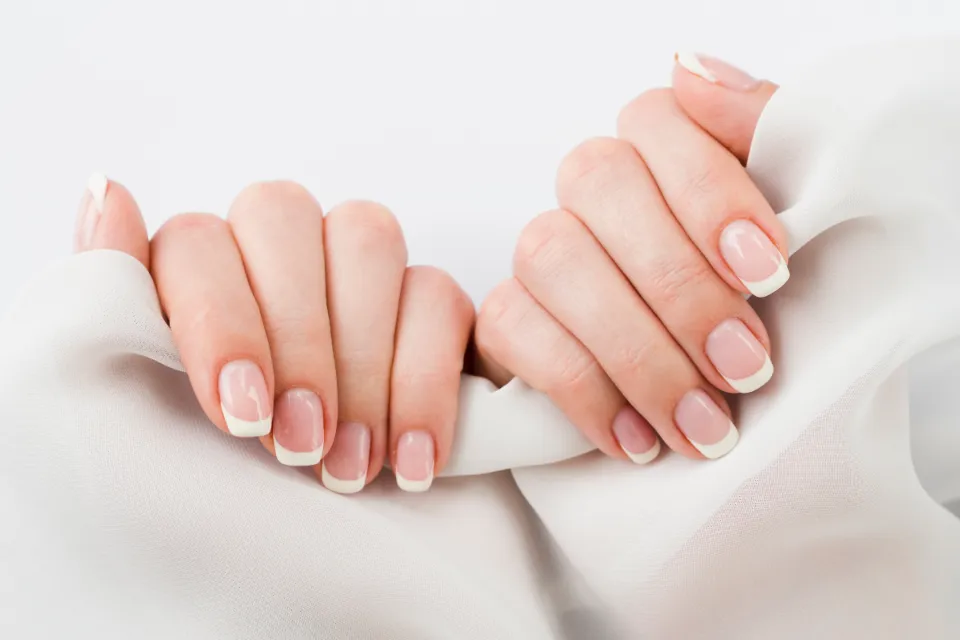
Your manicure will eventually look like this! Isn’t that gorgeous?
You can also watch this video to learn how to do a French Manicure:
How to Make Your French Manicure Last Longer
You want to make sure that your French manicure lasts as long as possible after all the work you put into giving it to yourself at home.
Here are a bunch of tips and precautions that come in handy to make your fabulous manicure last until the end of time:
- Using a cotton swab and white vinegar (or alcohol), clean your nails before applying your base coat. By doing this, you can get rid of product buildup and natural oils that might otherwise stand between your nails and the polish.
- Your nails will be less likely to break if you file them into a shape that resembles the shape of your cuticle.
- Remember to use thin coats when applying your polish. Prior to applying a second coat, it’s crucial to allow the first coat to completely dry.
- Applying a clear, thin top coat to your nails every other day is a great idea if you want to prevent your manicure from smearing or chipping. They will appear shiny as a result of this.
- Make sure that the cuticles of your hands are free of polish. This will cause your nail’s paint to lift off and result in peeling or chipping.
- Avoid shaking the polish bottle vigorously. To remove air bubbles, roll the substance between your hands.
- Apply your top coat right away because it performs best when applied to nearly dry nail polish. It blends well with your base because the top coat seeps through the polish.
- When doing the dishes, put on gloves and dry your hands with a towel right away, as opposed to letting them air dry.
Related Post:
Final Words: How to Do a French Manicure
Now you should know how to do French manicure!
A French manicure is a common nail art style that features a light pink base and bright white tips.
With just a bowl of warm water, a towel, a base coat, soft baby pink, white, and a top coat, you can do it with ease. If you have short nails, please check our guide on How to Do French Manicure on Short Nails.
FAQs
How Long Should Nails Be for a French Manicure?
How thick you want the white tip to be will determine how to proceed. For a French manicure, you only need slightly grown nails if you don’t mind having a thin white area.
What is the Best Base Color for a French Manicure?
The most natural-looking French manicured nails can be achieved with a builder gel or a sheer pink polish. Your skin tone should be the main focus when choosing a base shade; for example, rose-based shades are great for fair/light skin, whilst a deeper nude colour is better for dark skin.
What Comes First in a French Manicure?
Start the manicure with a base coat, then paint on your French tips.