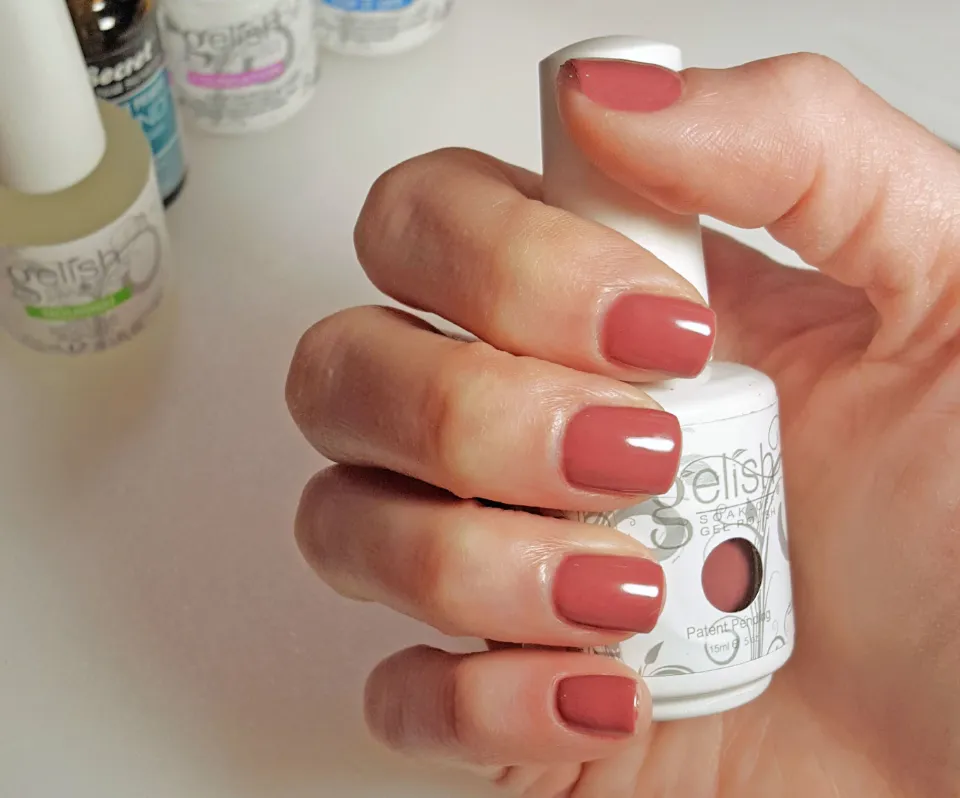
For those who struggle with long-wearing nail polish, gel polish is the newest trend. But do you know how to do gel manicure at home? Be at ease; we are here to help!
Doing gel nails at home isn’t so different from the nail salons. You’re going to find this to be rather enjoyable to do, provided you have the proper tools and the patience to learn.
Supplies You’ll Need for Gel Nails at Home
- Nail lamp.
- To get the polish off, use acetone.
- Cotton pads
- Nail polish soak off clips
- Cuticle remover liquid
- Nail file
- Steel cuticle remover and cutter
- Nail clippers
- Cuticle clippers
- Nail buffer block
- Rubbing alcohol
- PH bond, base coat and top coat
- Gel nail polish
How to Do Gel Manicure at Home?
here is an easy-to-follow, step-by-step guide on how to do your own gel nails at home.
1. Prep Your Nails
Prepping your nails before the whole gelling process is crucial because it’s not something you can do after applying the gel polish. If you tried, your gel manicure would be irreparably damaged.
Prep your nails by:
- Cutting your nails: For a neat appearance, trim off any extra-long extensions with a clean nail cutter.
- Nothing more than a file is needed for nail shaping. Whatever shape you prefer for your nails—round, pointed, square, almond, or oval—you should do it.
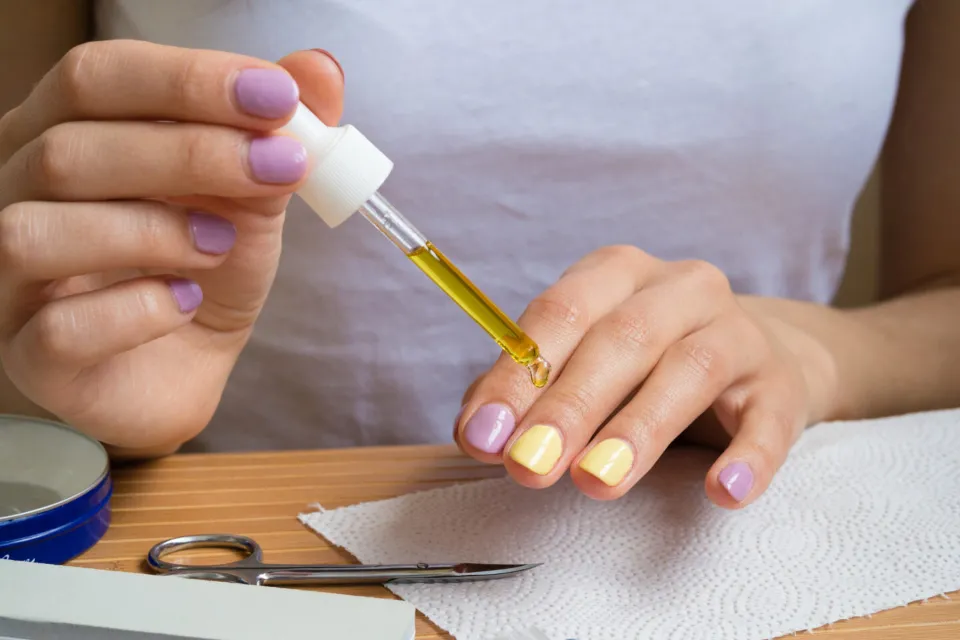
2. Apply Cuticle Oil
When you push your cuticles, cuticle oil makes it easier and increases the area of your nail bed that is exposed to gel polish.
Apply a drop of cuticle oil, massage your nail, and then use the edge of a file or a small stick made of orange wood to gently push your cuticles back.
To prevent the oil from getting on your nails after using cuticle oil, make sure to thoroughly wash your hands. This is a crucial action. Your gel nail may lift if you leave any oil behind.
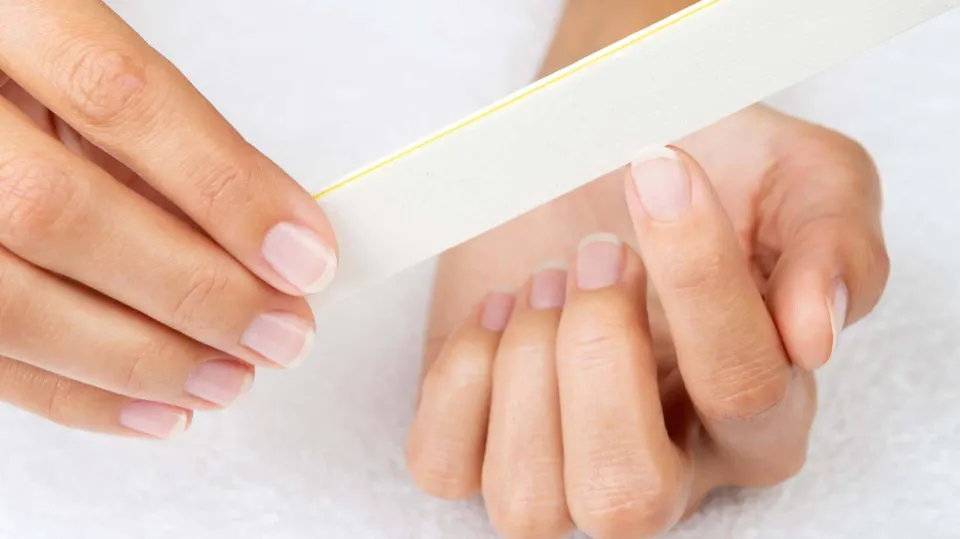
3. Buff Your Nails
A buffer has three sides: a rough, smooth, and shiner side. These three sides are essential to the buffing process.
Your nail’s smoothness plays a role in how long your gel manicure will last. For the best outcome, buff your nails to make them rough before applying the polish.
As you move the buffer from the base of your nail to the edges, gently buff the nail’s surface using the roughest part of the buffer. Don’t overdo it because you could easily thin your nails based on the abrasiveness of the buffer.
Buff your nail bed until there are no longer any inconsistencies or blemishes visible. If your nails are already straight, you can skip this step.
To get a smooth finish, use the smooth and shiner parts of the buffer.
4. Wipe Your Nails With Rubbing Alcohol
There is a lot of dust left over after buffing, and this dust can prevent gelling. Thankfully, rubbing alcohol can remove the dust residue from the nail.
While anything with an alcohol content of 70% or more can be effective, rubbing alcohol with a 91% alcohol content works best for this task.
Rubbish should be applied thoroughly, but it is simple to do. Use a soft cloth to gently dry your hands after washing them with warm water and hand soap.
Then gently wipe each fingernail with alcohol and a cotton pad. Make sure the cotton doesn’t cling to the nail bed. Simply take them out if they do.
You don’t have to wait very long for each fingernail to dry because alcohol dries quickly naturally. Repeat the procedure on the other fingers to get dry, clean, oil-free nails prepared for base coat.
5. Apply Base Coat
Applying a base coat is a critical step that you cannot omit. Your gel nail simply won’t stick to your nail bed without a base coat.
Put on a light coating of base coat. Make sure the entire nail is covered evenly. Otherwise, there will be a space where the colored gel polish won’t stick when you apply it.
After applying the base coat, cure the nail for about 30 seconds with your LED cure lamp. The length of time depends on the lamp you’re using.
It is expected that after curing, the gel base coat will be tacky. It is erroneous to think that the base coat should feel dry after curing.
6. Apply Gel Polish
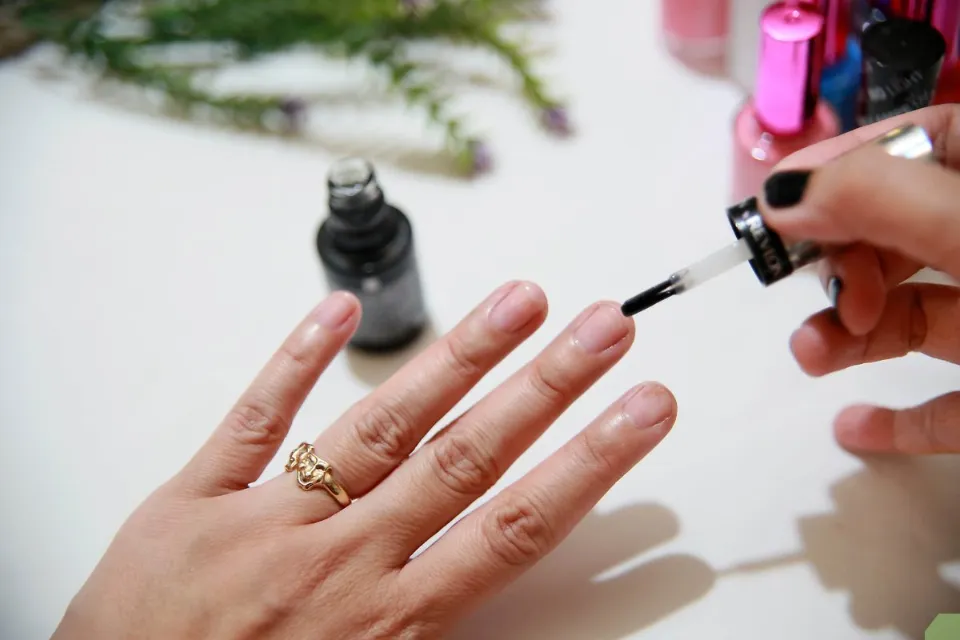
The fun part—applying gel polish—comes next after your base coat has dried.
Without accidentally touching your cuticles, carefully apply a thin layer of gel polish to your nails. On all of your fingernails, make sure to apply the gel polish evenly.
Before curing it under a lamp, manicurists occasionally paint the entire hand. Manicurists occasionally treat each one separately and paint it. It’s up to you; any strategy is acceptable.
No matter when you decide to cure your nails, you should follow the curing lamp’s recommended curing time for each nail. The typical duration, if none is specified, is 30 seconds.
Read More: Ohora Nail Reviews
7. Apply the Top Coat
The top coat ensures that all of the nail art you’ve created will be protected by the finish you’re about to apply.
While carefully sealing your nail tips, apply a thin layer of top coat over the colored gel polish. It’s a simple tip to extend the color of your polish.
After that, apply the layer smoothly and cure it using the same LED cure lamp as before.
For an excellent moisturizing finish, add a few drops of cuticle oil.
8. Aftercare
Every now and then, nourish your skin by massaging cuticle oil around your nails and cuticles to keep them from drying out and maintaining a healthy appearance.
Keep in mind that hot water won’t be your friend if you have a gel manicure because it will remove the polish more quickly. Avoid it if possible.
You Might Also Like: How to Repair Nails After Gel Manicure?
Advantages of Doing Gel Nails at Home
- It’s cost-effective. You only need to be concerned with the cost of purchasing supplies and tools when performing gel nails at home; you don’t need to budget for additional service fees.
- It’s time-saving. You can save time on travel by performing at-home gel manicures rather than going to the salon.
- You get to be creative. You can experiment with color and design ideas to create the custom nail art you’ve always wanted to try by coming up with unique gel nail polish styles.
- It’s resourceful. Each bottle of gel nail polish typically lasts 20 to 30 manicures. Compared to typical gel nail polish bottles, our S&L gel polishes have more volume. They last really long.
- It’s healthier. Without giving your nails enough time to soak, nail salons rush to remove the gel polish from your nails. If you do your own DIY at home, you can soak the gel polish off more slowly to prevent damage to your nails.
Also Read: How Long Does a Gel Manicure Last?
Is It Worth Doing Gel Nails at Home?
What you hope to gain from the process will determine how to answer that.
One of the best things about doing your own gel nails at home is that it’s cheaper than going to the salon—especially if you get them regularly.
Related Post:
Final Words: How to Do Gel Manicure at Home
Gel manicures tend to last much longer than those with traditional polish, so you can expect yours to stay put for about two to three weeks.
When the time comes to remove your gel nails and start over, make sure you’re doing it safely at home by adhering to the best practices.
Read More: Can You Paint over a Gel Manicure?
FAQs
Does Gel Nail Polish Need UV Light?
That said, since gel manicures require the use of a UV lamp in order to set the polish, they can be less-than-ideal when it comes to the actual health of the skin on your hands.
What Happens If You Use Gel Polish Without UV?
While non-UV gel polish may be convenient, it does take some time to dry, just like regular nail polish.
Do Gel Nails Damage Your Nails?
Although gel manicures can be elegant and durable, they can be hard on the nails. Gel manicures can cause nail brittleness, peeling and cracking, and repeated use can increase the risk for skin cancer and premature skin aging on the hands.