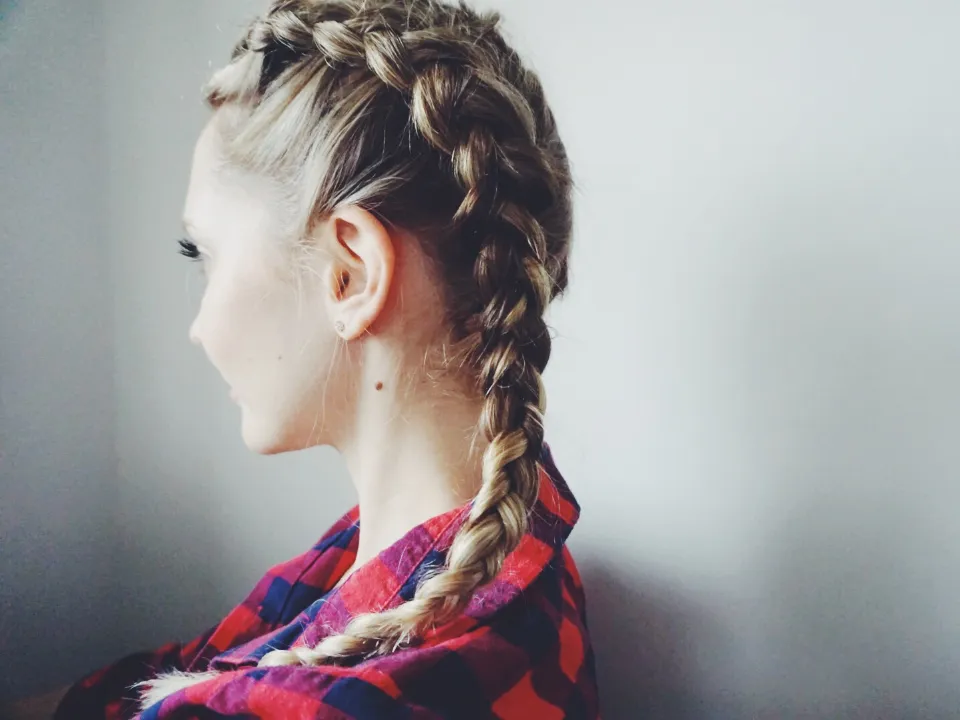
Despite being quick and simple to make, Dutch pigtail braids have a lot of wow-factor. Here is a step-by-step guide to teach you how to do Dutch braids.
If you’re anything like us (aka always on Instagram or Pinterest) you know how popular Dutch braids are…they are all over the place!
Continue reading to improve your braiding skills and take your hair-inspiration pictures to the next level.
How to Do Dutch Braids?
Practice braiding one simple Dutch braid to let your hands get used to the routine; then, feel free to experiment with a variety of other hairstyles with a dutch braid.
Step 1: Center Part
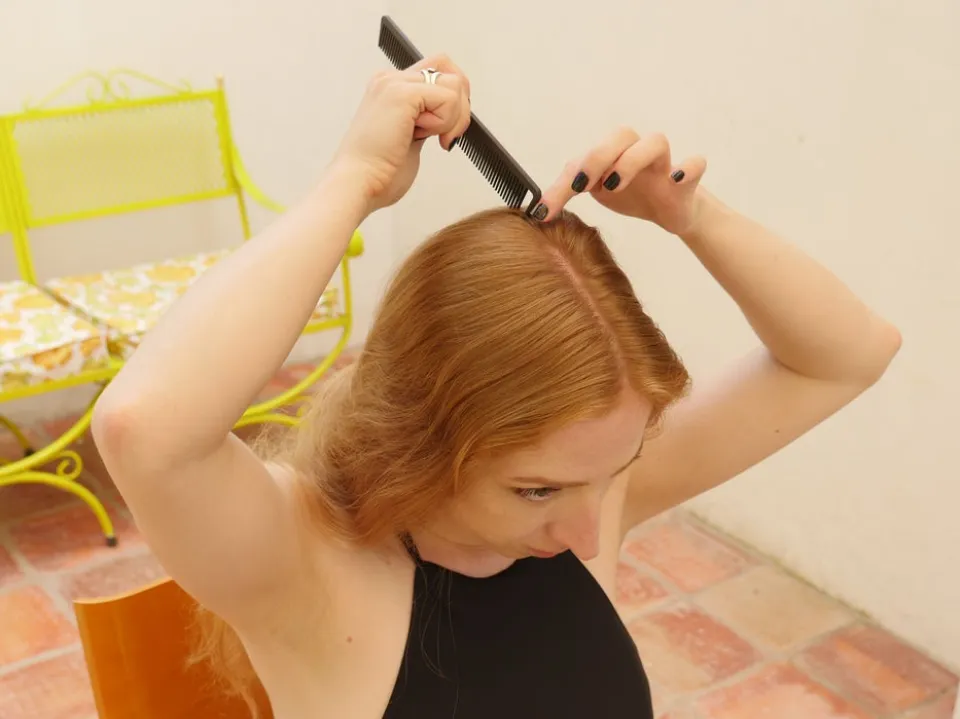
Make an even part in the middle of your hair and carry it all the way to the back of your head to divide it into two sections.
To keep one section out of the way right now, tie it up with an elastic or a clip.
Read More: Dutch Braid Vs French Braid
Step 2: Crossing Under
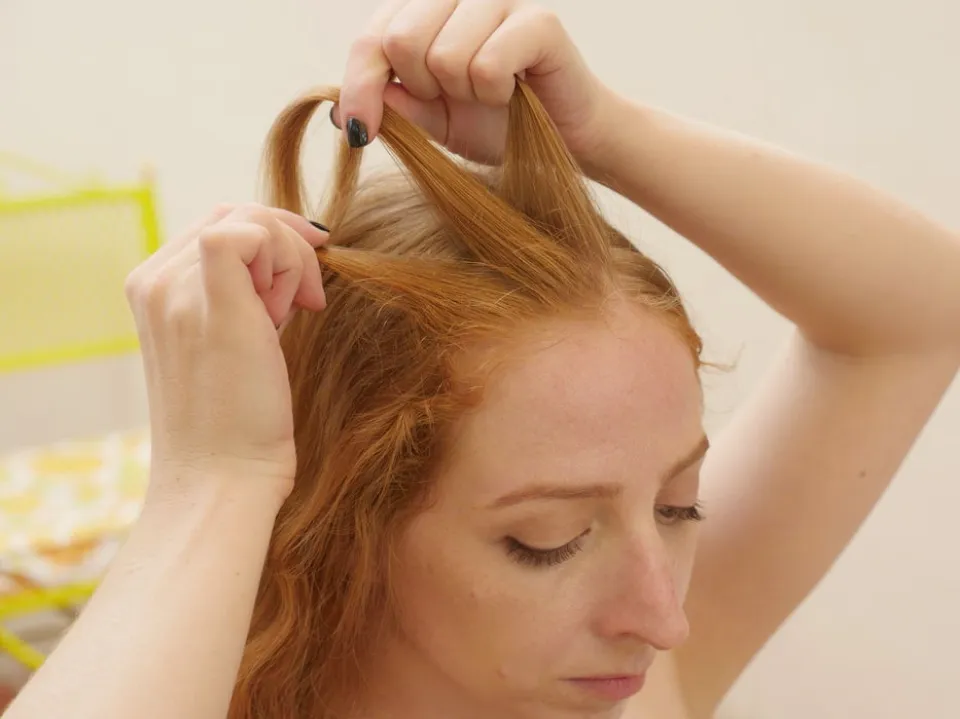
Return to the working area and carefully untangle any tangles. Grab a tiny section of hair in the front and divide it into three.
Make one or two (it need not be exact) stitches to start a crossing-under braid.
Step 3: Begin Adding to Each Section
You’re going to start adding tiny bits of hair to each section as you braid, just like you learned in my earlier tutorial on French braids.
The only distinction is that the sections now cross beneath one another rather than over. Inverted French braids are known as Dutch braids.
Then, repeat on the other side of the braid. Use a comb or your fingers to gather some nearby hair and add it to the section as it crosses under.
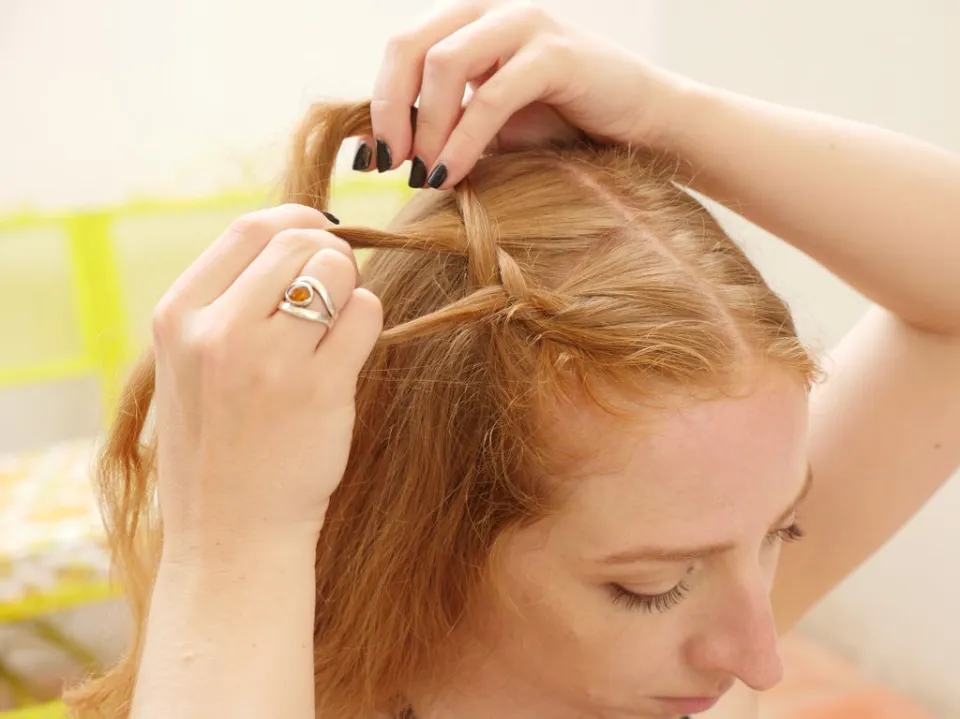
Step 4: Gradually Add More Along the Way
As your braid lengthens, keep doing this. As the braid travels through your brain’s hemisphere, make an effort to keep it moving in a relatively straight, centered line.
As your braid lengthens, keep doing this. As the braid passes through the hemisphere of your skull, try to maintain a somewhat straight line that is centered. When adding the final hair, avoid getting ahead of yourself or falling behind.
It is ideal for the additions to be roughly level with the braid’s active stitch.
Step 5: Finish & Repeat on the Other Side
Add a small elastic to the tail and braid the remaining pieces of hair all the way to the ends.
Create a second braid by taking the other half of your hair down, brushing it out, and following the same steps as above. Try to keep the second braid symmetrical to the first one by paying attention to its positioning and other angles.
To learn how to Dutch braid your hair quickly and easily, you can also watch this video!
Final Words: How to Do Dutch Braids
Dutch braid is a practical sporty look that’s great for athletics and leisure, but can just as easily be dressed up for a romantic look,
Although a Dutch braid looks gorgeous on its own, the raised loops can be easily embellished with flowers, glitter, or hair accessories.
Read More:
FAQs about Dutch Braids
Is Dutch Braid over Or Under?
The key point to remember with Dutch braids is to weave each piece under rather than over (basically the opposite of a French braid).
Is Dutch Braiding Easy?
The strands of the Dutch braid are actually crossed under rather than over like those of the French braid. Even though it might seem difficult to a beginner, it is actually quite simple.
How Long Do Dutch Braids Last?
Some Dutch braids will only last a few days, if, for example, you’re heading to White Water World the very next day.