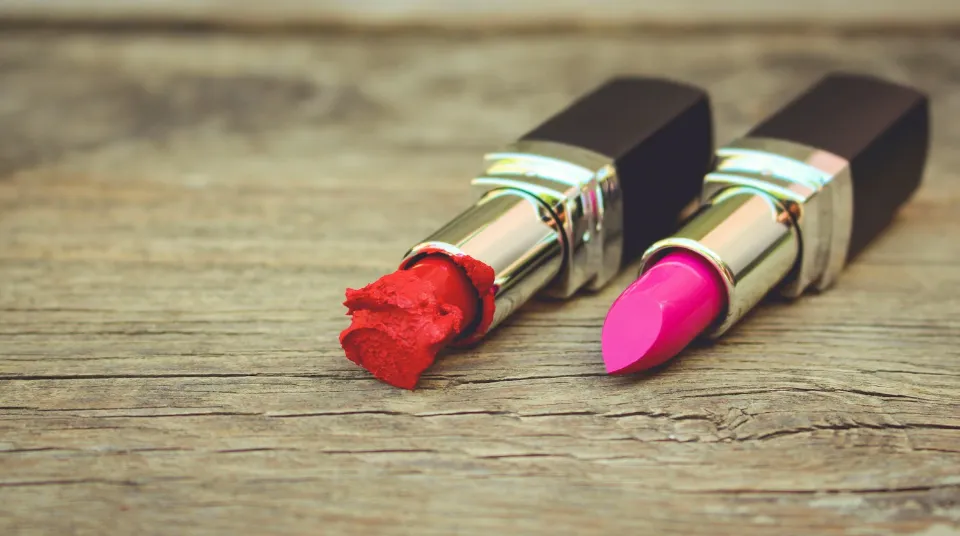
It occasionally happens that when you first get a new lipstick, you twist it up just a little bit too much when applying it because you’re eager to try the new shade. So how to fix broken lipstick?
You can put broken lipstick back together, and melted lipstick can be saved by putting it into a new container.
We outline the procedures for fixing your favorite lipstick with a match or a lighter.
How to Fix Broken Lipstick?
Has your lipstick cracked? We have you covered. Follow the steps below to fix your broken lipstick.
Step 1: Remove The Broken Piece
If the broken piece of lipstick hasn’t already fallen out of the tube, now’s the time to remove it. Swivel your lipstick all the way out of the tube, then remove the broken end with gloved hands.
Step 2: Smooth The Base
Use a cotton swab to smooth out any product left in the tube. Your broken lipstick will stick better to a flattened base.
Step 3: Melt The Bottom
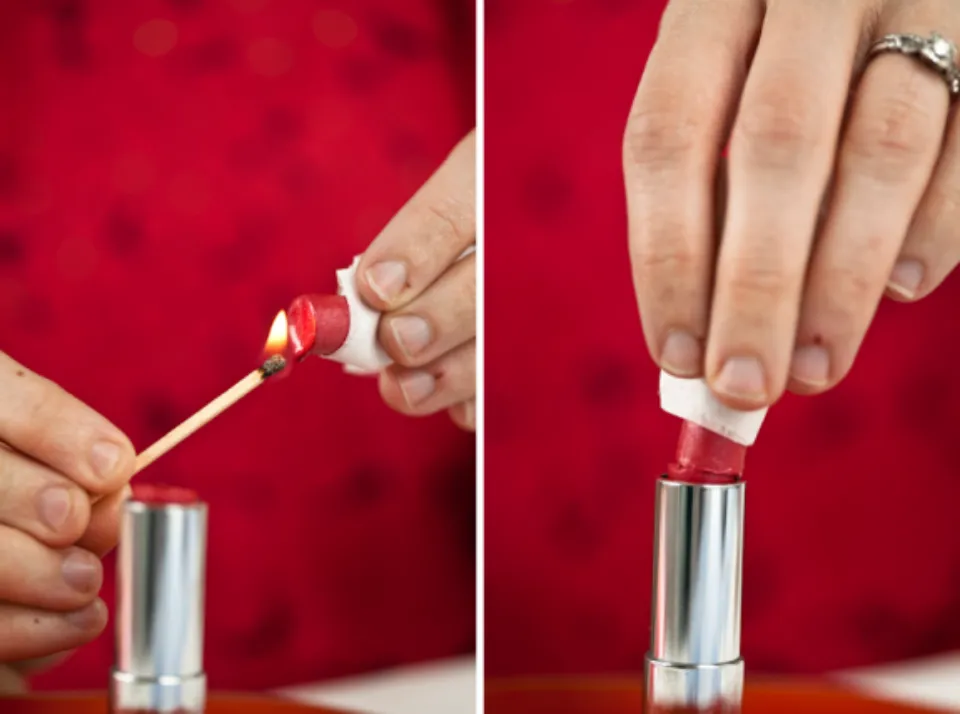
Use a lighter and hold your lipstick piece over the flame to help soften up the broken end. Apply the remaining lipstick in the tube in the same way. Be careful to avoid burning your hand, the tube, or your lipstick!
Step 4: Smooth The Broken Piece
Smooth the edge of the broken lipstick piece with your cotton swab once more. Just keep in mind that it will be simpler to combine the flatter it is.
Step 5: Combine
Place them together once both ends are comfortable. They ought to start melting together right away, but if necessary, you can use your lighter to melt them together even more.
Step 6: Smooth Things Out
Use a toothpick to smooth out the edges for a lipstick that looks as good as new because the repaired areas are probably a little bumpy.
Step 7: Refrigerate
After putting your lipstick in the refrigerator for an hour, check on it to see if it has finished cooling and hardening. Once it has set up, you can use it once more.
You Might Also Like: How to Fix Broken Eyeshadow?
Best Way to Avoid a Broken Lipstick
- Prior to applying your online-ordered lipstick, give it time to adjust to your environment. When you apply pressure to your lips in very cold temperatures, a lipstick may become brittle and break off at the base.
- The same is true for exceptionally warm or hot days because lipstick can arrive softened, especially if left in a warm mailbox. So, to help the waxes re-harden, chill the lipstick for 15 minutes prior to application.
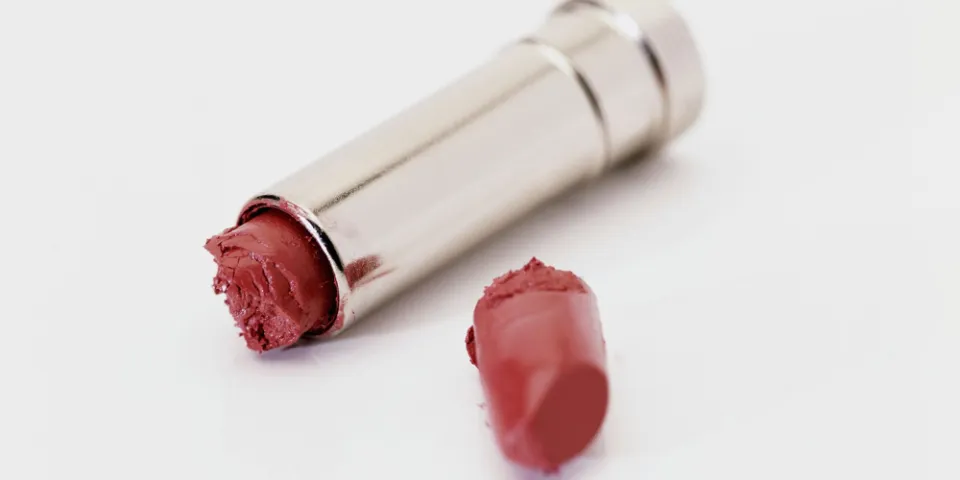
- Never untwist lipstick more than a quarter to a half inch past the tube’s edge, as shown in the picture, as doing so will make it unstable and likely to break.
- Additionally, we advise against applying lipstick at a teardrop angle because it applies pressure sideways. Put a straight pressure on the lipstick tip as you place it on your lips. This will help the lipstick tip round out and prevent any side angles or misshapen tips that could cause the lipstick to break.
- The same advice still applies even if you’ve had your lipstick for a while, as hot and cold weather will eventually make any lipstick you use less stable.
Final Words: How to Fix Broken Lipstick
If your lipstick has broken but it’s still in good shape overall, or if your lipstick has melted in your car and is now a lumpy mess, it is worth trying to repair it rather than throwing it away.
Take care of your lipstick with some of these precautions and you should be able to enjoy it right down to the bottom of the tube.
Read More:
FAQs
Can You Repair a Broken Lipstick?
Yes, you can soften the broken end of your lipstick by holding it over a flame while using a lighter.
Why Do Lipsticks Break at the Base?
When you apply pressure to your lips in very cold temperatures, a lipstick may become brittle and break off at the base.
Can You Use Second Hand Lipstick?
Secondhand liquid foundation, primers, lipsticks, glosses, and eye products should all raise particular red flags for consumers.