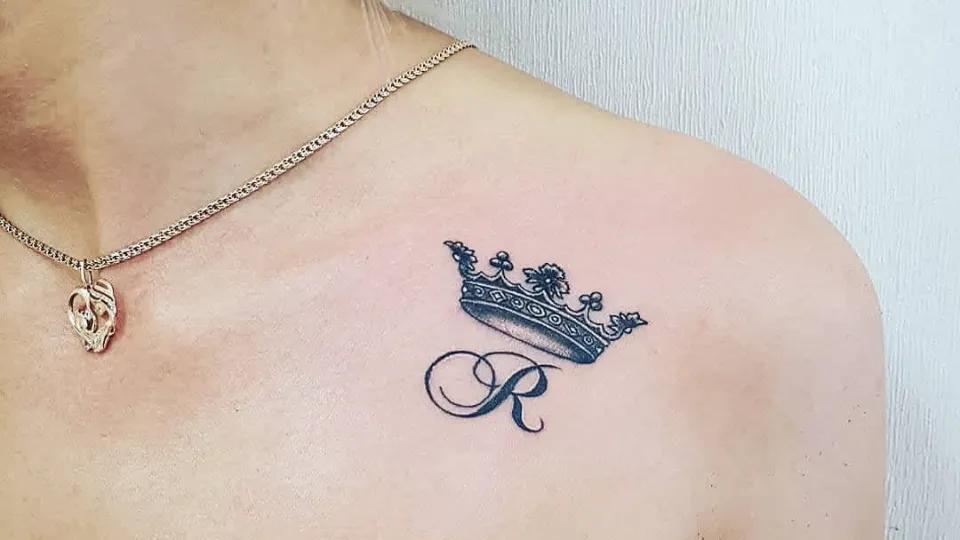
The majority of cosmetic procedures cause some degree of discomfort. Happily, tattoo numbing cream is useful. But how to use tattoo numbing cream?
Numbing creams can be particularly helpful when getting inked in one of the most painful areas to get a tattoo or for longer sessions when getting a large or intricate piece.
Continue reading to get the full lowdown on tattoo numbing creams.
What is Tattoo Numbing Cream?
Tattoo numbing cream is a topical anesthetic that blocks nerve signals in the body to reduce the skin’s sensitivity and pain receptors in a given area.
These products have the same components as injectable anesthetics that are administered prior to minor surgeries. Topical anesthetics have numbing properties, but they take longer to work and need more time to properly absorb into the skin.
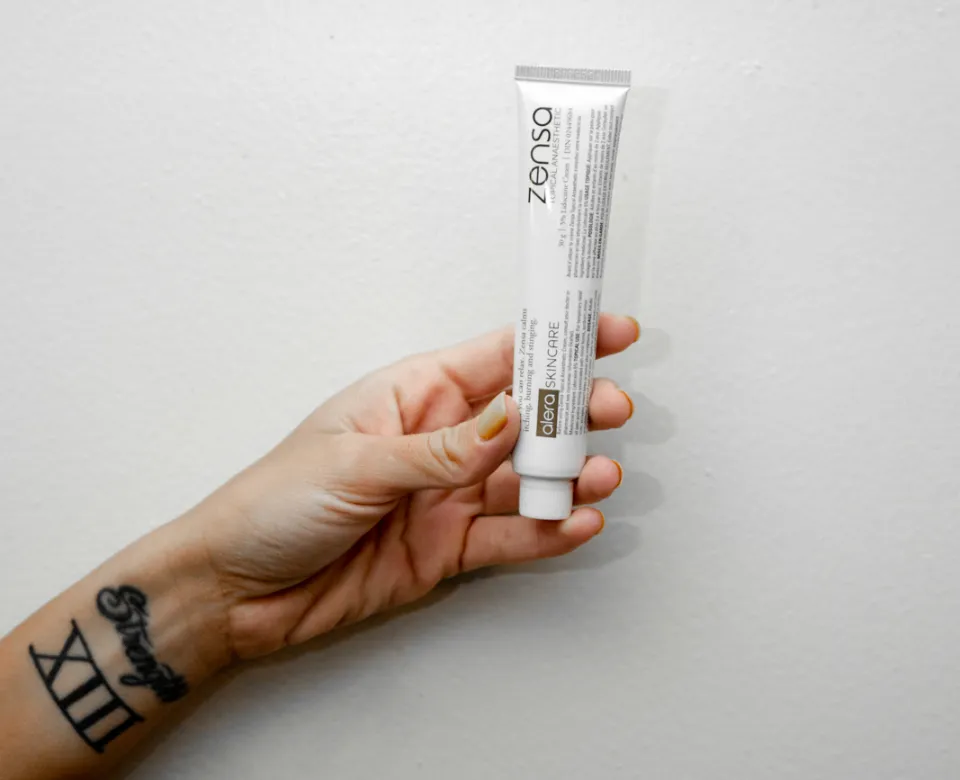
The majority of OTC and prescription-strength numbing creams contain lidocaine as their active ingredient.
Among the available topical active ingredients, lidocaine not only has the strongest numbing effects but also has the fastest absorption and least toxic properties.
Benzocaine, prilocaine, and tetracaine are some other well-known active components found in skin-numbing creams.
Not sure which brand to buy? Please read our guide on Best Tattoo Numbing Cream.
How to Use Tattoo Numbing Cream?

The proper way of applying numbing cream is crucial. It has the power to either lengthen or shorten how long you experience numbness.
It will fundamentally alter your ink adventure, I promise. For instructions on how to apply tattoo numbing cream correctly, see the steps below.
1. Prepping the Skin and Your Hand
Make sure your skin is dry and clean first. Wash your skin thoroughly with some mild, fragrance-free soap before patting it dry with a paper towel.
Regular towels should not be used because they may contain germs or bacteria that could be transferred to the skin. The numbing magic should not be hindered by any dirt, grime, or germs.
Wash your hands as well, don’t forget. Because your fingers should be neat and clean when you apply.
2. Timing is Everything
Your best ally in this situation is timing. To find out when to apply the numbing cream, refer to the directions on the packaging. because the recommended application times for various brands can vary.
It typically occurs between 30 and an hour prior to your tattoo appointment. As a result, prepare ahead of time and avoid putting it off. I’ve observed a lot of clients who simply show up for their tattoo appointment without using numbing cream.
In order to begin tattooing, I would first apply the numbing cream and then wait for it to take effect while I sat there. It’s irksome and takes up a lot of time. Before going to your tattoo appointment, be sure to apply it.
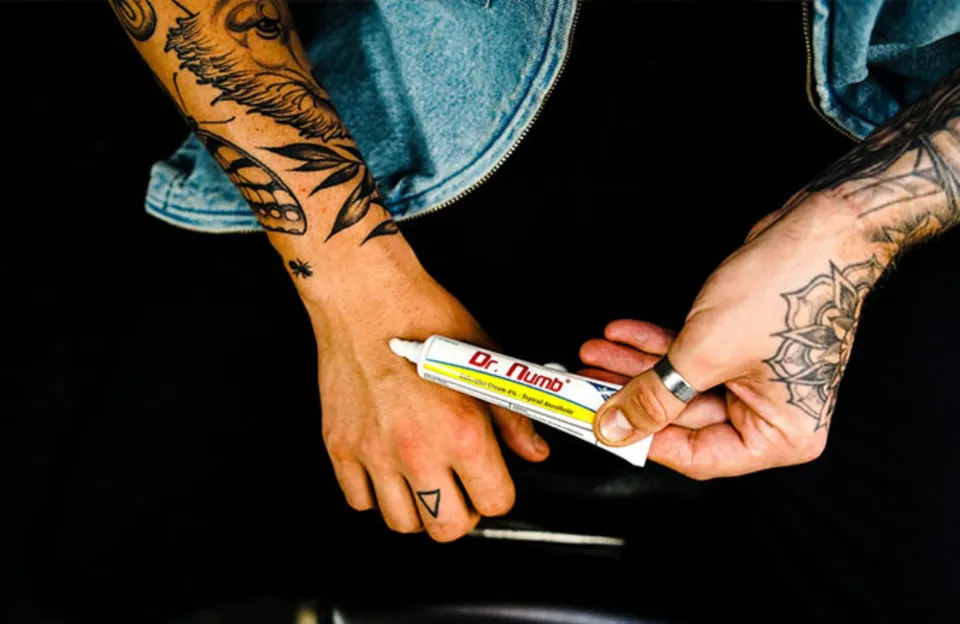
3. Apply the Tattoo-numbing Cream
Grab a generous amount of that numbing cream and apply it to the area where you’re getting inked. Don’t be afraid to spread it evenly, covering the entire area with your fingers or a clean applicator. It’s similar to covering your skin in a warm blanket of numbness.
But be careful not to overdo the application. The cream should be applied to the skin in a thin layer, not a thick layer.
4. Wrap It Up
You might need to bandage or wrap the affected area with plastic wrap, depending on the cream’s instructions. Though not all tattoo numbing cream brands require you to cover it up.
This keeps the cream in place and stops it from rubbing off. Make sure you follow the instructions exactly; if they don’t say to wrap it, there is no need to do so. Double-check the directions before you start.
5. Wait for Some Time
Allow the cream to do its magic while you sit back and unwind. Use this time to mentally get ready for your tattoo session. You could listen to music or talk to your tattoo artist.
As it begins to take effect and prepare you for the important moment, savor the blissful numbing sensation.
Related Reading: How Long Does Tattoo Numbing Cream Last?
6. Wipe It Off
It’s time to take off the numbing cream when the suggested application period has passed. In most cases, 10 to 20 minutes are suggested.
However, it may differ from one brand to another. There are numbing creams that can start working fully in just 5 minutes after application!
Remove the cream from your skin by gently wiping it away with a clean cloth or some soft wipes. Before tattooing, make sure all traces of the cream are removed because a slick surface could interfere with the tattooing process.
7. Get Inked
Your skin should be nice and numb by this point, prepared to handle that tattoo like a pro.
Inform your tattoo artist that you’ve used numbing cream so they can provide you with a more comfortable tattooing experience.
Takeaway: How to Use Tattoo Numbing Cream
Tattoo numbing cream doesn’t work immediately. The full effects don’t happen for at least an hour.
At least 60 minutes must pass with the cream still on, but 90 minutes is preferable. Keep it on while you’re driving if you have a long commute to your appointment.
If you arrive at your appointment with your numbing cream still on, most tattoo artists won’t mind. Request permission to wear your numbing cream for as long as possible by calling your tattoo artist in advance.
FAQs About Use Tattoo Numbing Cream
How Long to Leave Numbing Cream on for Tattoo?
To ensure complete numbing, we advise applying numbing cream at least 60 to 90 minutes before your appointment.
What Are Tattoo Numbing Cream Side Effects?
Side effects include irregular heartbeat, numbness or prickling around the mouth or tongue, dizziness, ringing in the ears, blurred vision, agitation, or muscle twitching.
Does Tattoo Numbing Cream Affect the Ink?
It won’t affect your new ink.