Cleaning beauty tools is really just like brushing your teeth; no one really enjoys it, but it must be done, and frequently at that. But how to clean makeup brushes?
It’s a good idea to wash your makeup brushes every 7 to 10 days to protect your skin and eliminate any dangerous bacteria that may be present.
Here is a step-by-step guide to cleaning your makeup brushes, so keep reading.
How to Clean Makeup Brushes?
Using the right ways to clean makeup brushes can go a long way in protecting your skin from acne, skin irritations, and infections.
Here is a step-by-step process you can use to clean your makeup brushes effectively:
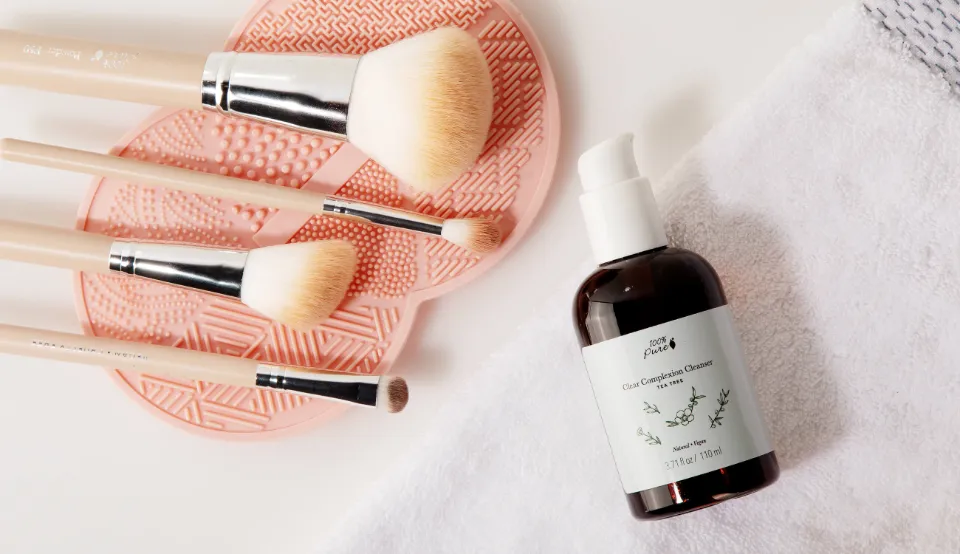
- Rinsing. The first step in cleaning a makeup brush is rinsing. Take your makeup brushes and run lukewarm water over them, only rinsing the tips. This will aid in removing any leftover makeup. Be careful not to wet the entire brush head as the lukewarm water may cause the glue holding the handle and brush head together to dissolve.
- Shampoo the brush. You can use either gentle shampoo or clarifying shampoo for this step. One tablespoon of each of the two shampoos should be added to a bowl of warm water. As soap may cause the bristles to dry out, avoid using it on your brushes.
- Swirl and massage. Swish the bristles of your brushes in the shampoo and water mixture after mixing the two. To produce more lather, you can also massage the brush tips in the palm of your hand.
- Rinse. Repeatedly run running water over the brush tips to rinse them.
- Repeat the process. If the water coming from the brush isn’t clear after a few attempts, try repeating the shampooing and rinsing procedure. That is a sign that there is no longer any makeup on your brushes.
- Squeeze the water out. Make sure your brushes are clean, then use clean, dry paper towels to squeeze out the extra moisture from the bristles.
- Dry the brushes. Lay your brushes flat on a dry towel now that they’ve dried a little from being squeezed. Make sure the brush tips are hanging off the edge and not being held upright. The water may flow down the brushes’ bristles and loosen the glue if the brushes are placed upright.
How Often Should You Clean Your Makeup Brushes?
How often to clean your makeup brushes depends on the type of makeup you use.
Cleaning a brush more frequently may be necessary if you use it to apply wet makeup or makeup that contains liquid ingredients (like concealer and foundation).
Try cleaning this brush once a week at the very least. The product might be removed with just this. It might also increase the effectiveness and efficiency of the brushwork.
It is recommended that you clean the brushes you use around your eyes every two weeks.
This also applies to brushes used to apply dry cosmetics (such as eyeliner and eyeshadow). This is because infections in your eyes are more likely to occur than in your skin.
After cleaning, don’t forget to properly store makeup brushes before the next use.
Conclusion: How to Clean Makeup Brushes
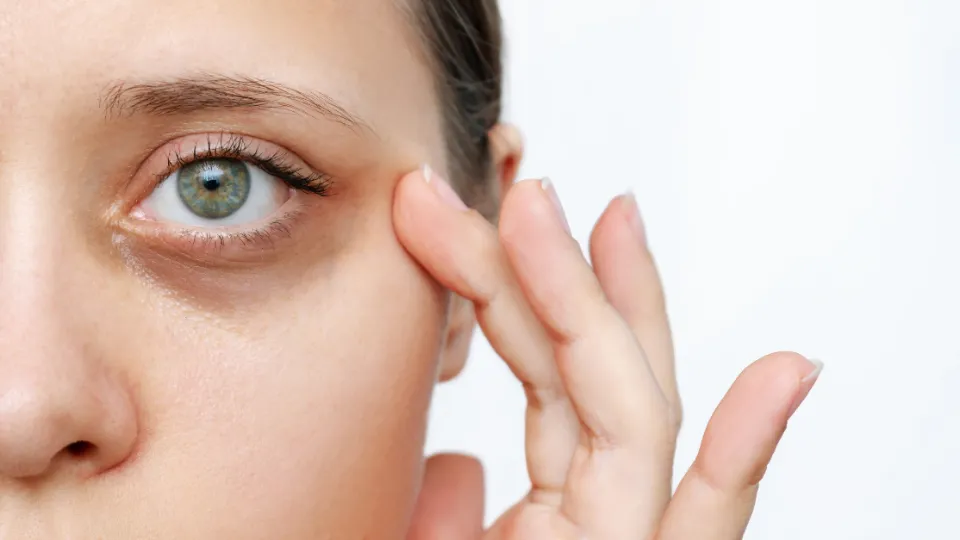
Using a dirty makeup brush may give you skin infections, allergic reactions, and acne, things that are preventable with a simple wash every now and then. Keep makeup brushes private, and wash the ones you use frequently.
If you see that your brushes are worn out or have lost their shape, you might want to replace makeup brushes with new ones. If they don’t function effectively, it might not be worthwhile to keep them around.
Read More: Is Shein Makeup Safe?
FAQs About Cleaning Makeup Brushes
Can You Use Shampoo to Clean Makeup Brushes?
Yes, you can use either clarifying shampoo or gentle shampoo.
What Kind of Soap Do You Use to Clean Makeup Brushes?
Although Dial (liquid or bar) is a popular option for synthetic brushes, any soap or shampoo will technically work for deep cleaning your makeup tools.
Can I Clean Makeup Brushes With Micellar Water?
If you’re lacking a makeup brush cleaner, a mild cleanser or micellar water will work.