Looking for how to sew a pencil skirt? You should read this post, then.
The figure-hugging, slim-fitting pencil skirt is a timeless fashion that is incredibly well-liked worldwide. It gives the wearer a stylish, attractive, and self-assured appearance.
It can be enjoyable and simple to make your own distinctive pencil skirt. Keep reading, you will find sewing a pencil skirt is not a difficult thing!
How to Sew a Pencil Skirt?
I made this skirt using this free, downloadable pencil skirt pattern, which you should download if you want to follow along with the tutorial.
Step 1: Cut Out Your Skirt Pattern Pieces
Make sure to cut out your pattern pieces with the indicated grain lines in mind.
Related Post: How Should a Pencil Skirt Fit?
Step 2: Transfer Pattern Markings to Your Pieces
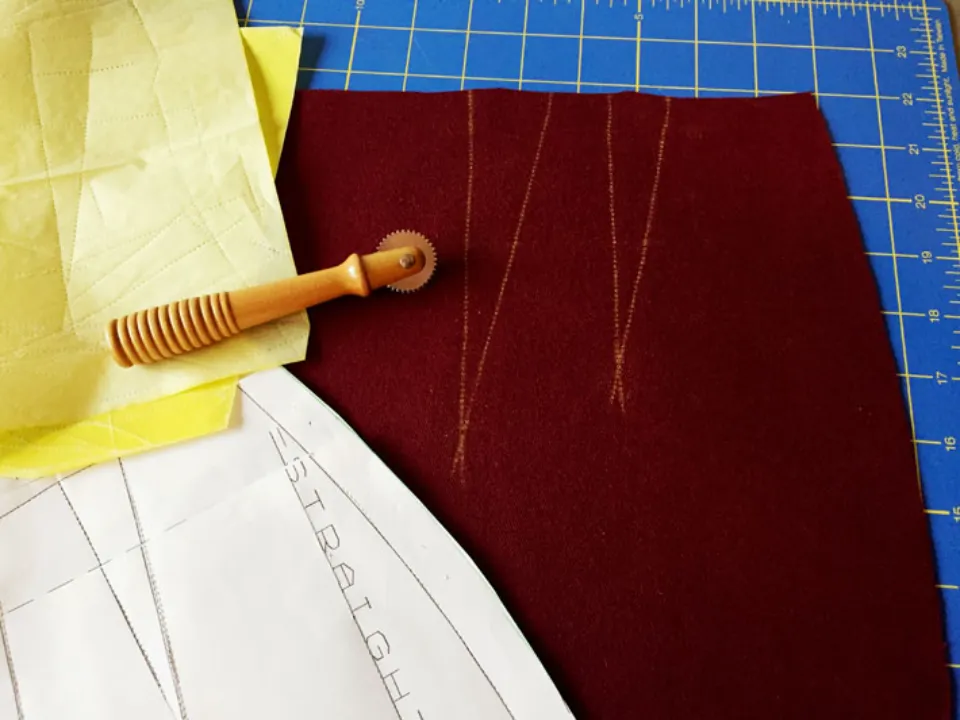
Carefully transfer your pattern markings to your skirt pieces. Dressmaker’s carbon paper, which has a chalk coating on one side, is an option.
To transfer the dart markings to the fabric, place the chalk side of your fabric against the wrong side and use a tracing wheel to trace the markings.
To mark the darts and other markings, you could also use tailor’s tacks. Make sure to transfer all markings, including the location of the zipper and any hem pleats.
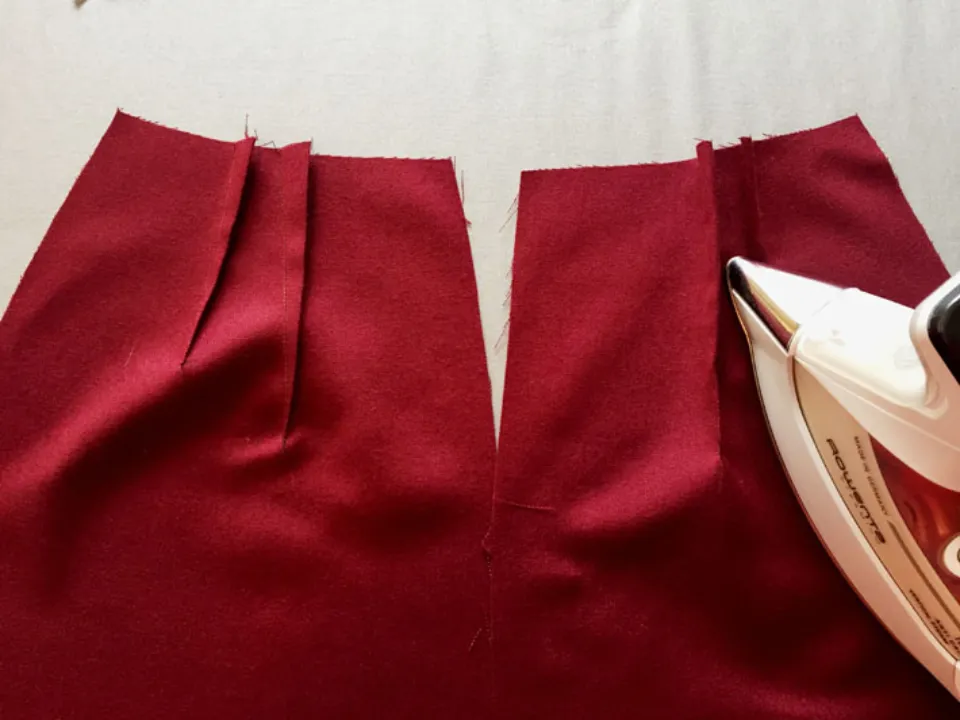
Step 3: Sew and Press the Darts
Start at the waist and sew these waist darts toward the point, taking the final few stitches very near the edge.
Make a knot at the end of each thread. The front and back pattern pieces’ darts should be carefully stitched, then they should be pressed inward.
Step 4: Insert the Zipper
Since my zipper didn’t quite match my fabric, I chose to create a lapped zipper in this instance. When used on the side seam, a lapped zipper is a great option because it can completely conceal the zipper in that situation.
You can use a lapped zipper, a centered zipper, or even an invisible zipper in the center back.
Where you will insert the zipper, add strips of thin interfacing to the seam allowance to support the fabric and prevent any pulling or puckering.
Step 5: Sew the Seams
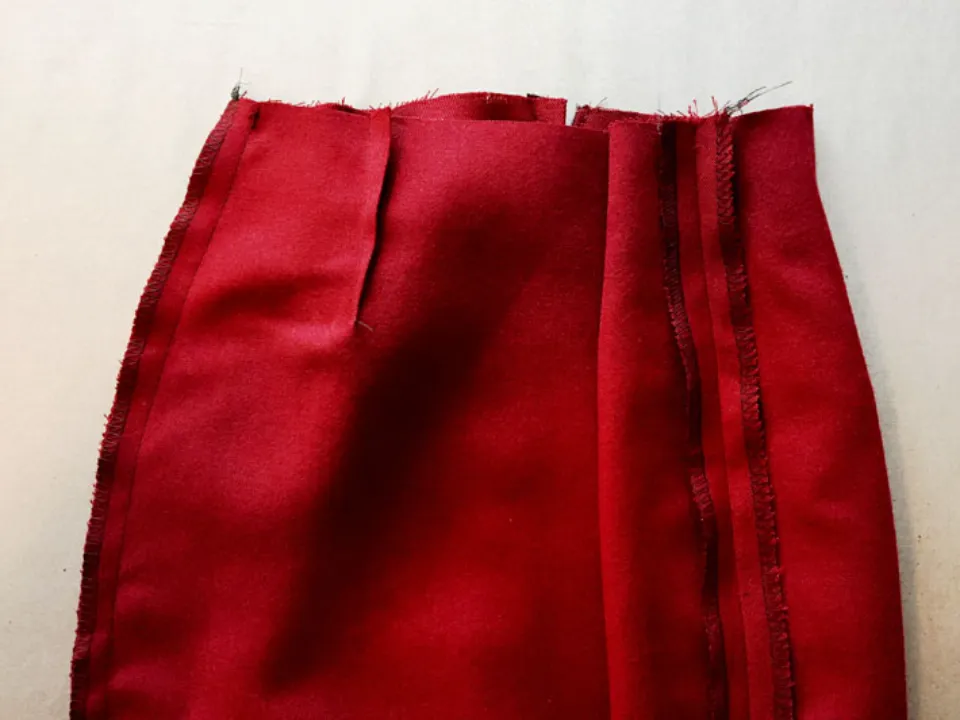
The skirt’s final seams should be stitched and then pressed. I decided to overlock the side edges of each pattern piece for this example so that the seams could be altered if necessary for a second fitting.
Additionally, pressing the seam open results in a less bulky seam allowance than overlocking the seam allowance on both sides.
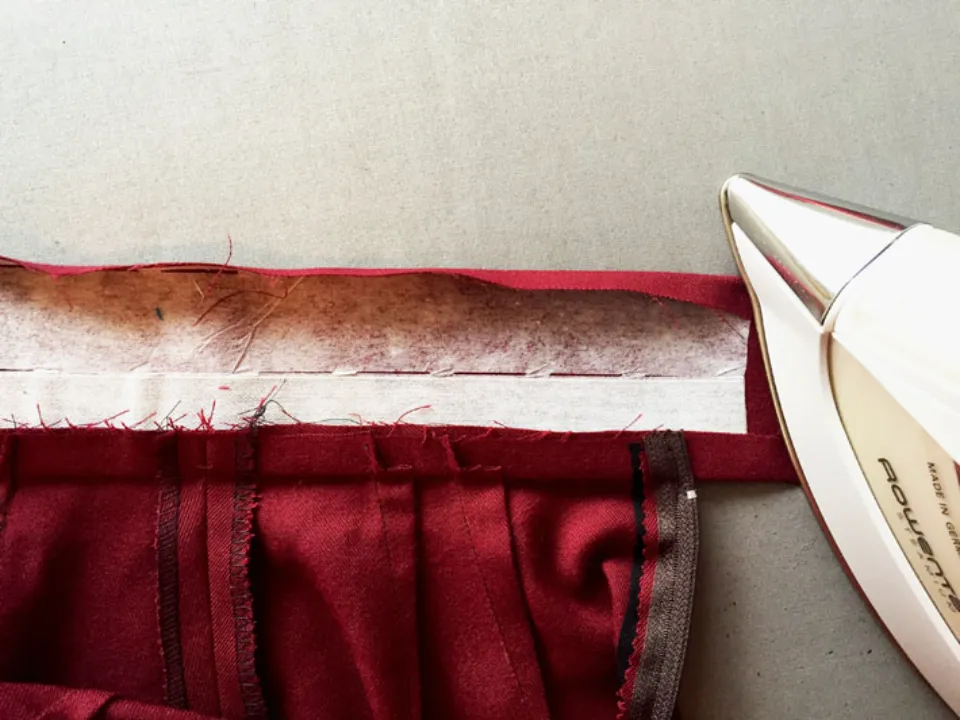
Step 6: Interface the Waistband
Apply interfacing to the skirt waistband. Stay away from the temptation to omit interfacing from the waistband. The pencil skirt’s appeal includes a smooth waistband that gives the appearance of a belt. When worn, the waistband without interfacing may wrinkle or crumple.
Waistband interfacing can be done in many different ways. I used fusible interfacing made specifically for waistbands because this waistband is very straight and has no shaping.
With the addition of perforations, it has a stiff section on one side and a non-woven fusible on the other, allowing the waistband to fold over easily at the center, where stitching will be applied.
Step 7: Attach the Waistband
Matching the side seam markings and any other pattern notches, sew the waistband to the skirt.
Make sure the waistband on one side of the zipper extends at least 1″ past the zipper to provide room for a button or hook to secure the waistband.
For a neat finish inside your skirt, press the seam up toward the waistband and press the other edge of the waistband under since it will be folded over at the center.
Step 8: Finish Off the Waistband Ends
Turn the waistband back over with the right sides together and stitch perpendicular to the waistband seam to finish the ends.
Make sure to sew one end of the waistband perpendicular to the zipper seam as shown here with the pins if you want a neat finish on your skirt closure.
The longer end of the waistband, which is on the other end, forms a tab that tucks under the opposite side. The button or hook closure can be sewed there. More advice for sewing your waistband ends together is provided below.
Step 9: Sew the Inside of the Waistband
Trim, turn, and press the waistband after machine-stitching the ends.
Quickly hand stitch the waistband’s folded edge to the seam allowance.
Step 10: Sew the Kick Pleat
The majority of pencil skirts are quite slim, just like their namesake. Adding a kick pleat is still possible even if your pattern doesn’t call for it. Finish off the edges of the pleat after sewing the seam as usual.
While the side of the pleat that is folded back won’t be visible when you walk, the other side will, so turn that side under and stitch it in place with matching thread to complete the pleat.
The diagonal line that will hold the pleat in place should then be marked after pressing the pleat. You can now stride comfortably in your pencil skirt after stitching as directed.
Step 11: Sew the Hem
The hem needs to be sewn now, almost finished. You can overlock, use hem tape or lace, or even perform the Hong Kong finish, as demonstrated, to finish the seam on a hem.
Straight edges like hems respond incredibly well to this technique. You can use a catch stitch, a slip stitch, or a machine hem stitch for the hem; the key is using well-matched thread and making small stitches for a hem that is almost invisible.
Read More:
- How to Style a Pencil Skirt?
- How to Wear a Pencil Skirt in Winter?
- How to Wear a Pencil Skirt With a Tummy?
What Fabric to Use to Sew a Pencil Skirt?
To ensure that the skirt will fit you perfectly without being too tight, look for a fabric with some stretch, such as wool or cotton.
Pencil skirt-friendly fabrics include medium-weight cottons, knits, denim, and linen. For a formal pencil skirt, suiting fabric is ideal because it gives the finished item a very polished appearance.
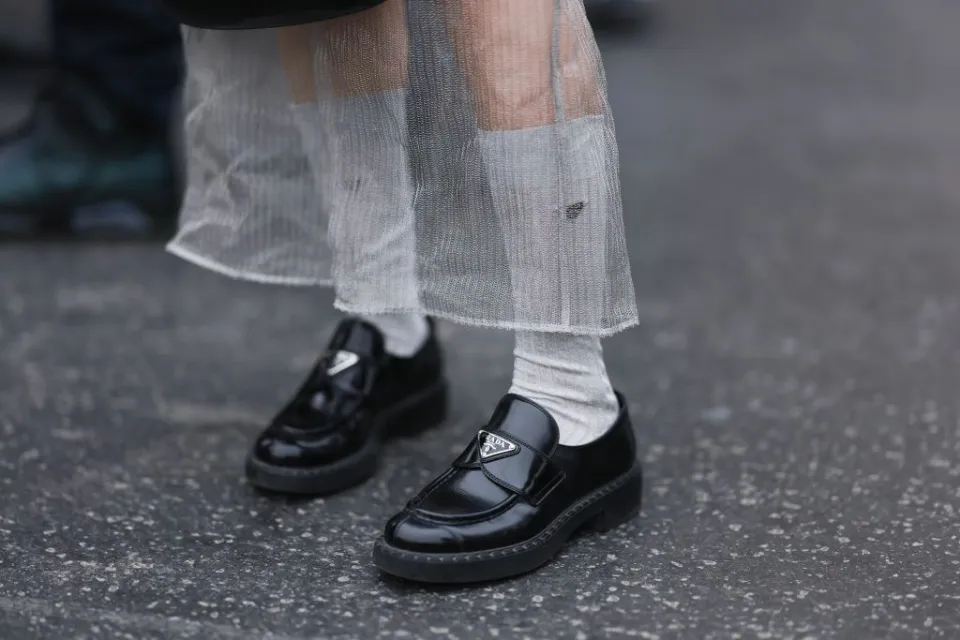
For pencil skirts, black is the color of choice. A timeless black pencil skirt will always be a staple in the wardrobe of any skirt lover. Grey, beige, and black are some additional neutral colors that are stylish and complement most tops. However, it doesn’t follow that you should abandon all other hues. My favorite is a pink pencil skirt that I made. Additionally, choosing fabrics with attractive prints is wise.
Another option is to split up the skirt making the top hip portion in one color maybe a plaid and the bottom in a different fabric – this way you can use up your favourite scraps to make this simple skirt; if you are doing this it will be better if it done in the front pattern only – the back pattern is better done in a single fabric.
Read More: Are Pencil Skirts Still in Style?
Final Words: How to Sew a Pencil Skirt
The best thing about a pencil skirt is its flattering fit which follows your womanly curves. The wearer’s appearance is improved by its sleek silhouette.
This skirt’s slim fit creates the appearance of height, lengthening the body line and making you appear taller.
If you like sewing clothes, it’s really important to have a good pencil skirt sloper – a custom-fitted, basic pattern which you can redesign and create many different styles of skirts, also you can use it to sew dresses.
FAQs
How Much Fabric Do I Need to Make a Pencil Skirt?
1.25 meters of the preferred fabric. Depending on how long you need the skirt to be.
What is the Best Material to Sew a Pencil Skirt?
We recommend medium to heavy weight woven fabrics for the A pencil skirt to die for.
Is a Pencil Skirt Slimming?
A dark pencil skirt always looks more slimming than one that is light, bright, or patterned.